Domoticz is open source popular home automation software which can run on WIndows, Linux, MAC and even Rasberry PI. Here you will find some information how to run Denkovi modules together with Domoticz (Thanks Rob and Domoticz Team!) More information - http://domoticz.com/
Domoticz support for Denkovi Hardware
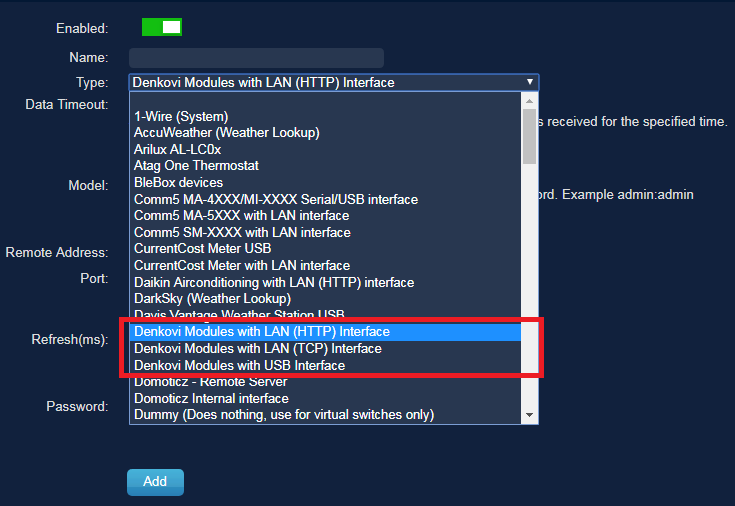
In this moment (August 2018) there are three plugins for Denkovi hardware:
- Denkovi Modules with LAN (HTTP) interface
- Denkovi Modules with LAN (TCP) interface
- Denkovi Modules with USB interface
These three plugins are developed by Denkovi team.
Denkovi Smartden with LAN interface and Denkovi Smartden IP In with LAN interface are no more supported and are removed from Hardware list!
Hardware plugin Denkovi Modules with LAN (HTTP) interface - supports devices using HTTP communication
Devices, supported by this plugin:
Please note:
- Due to the specific of the communication (HTTP GET requests), it is strongly recommend to log-out from the denkovi hardware device web server when working with Domoticz because either the communication will not be established either the user will be logged-of automatically every time when a request come from Domoticz server.
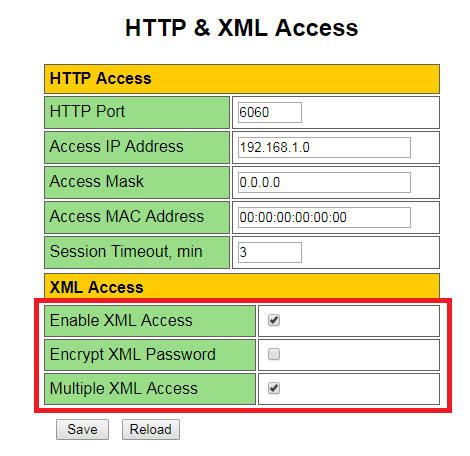
- For DAEnetIP4/smartDEN devices before start the Domoticz system, please be sure the HTTP / XML / JSON settings are done properly, as the image below:
Specificly, please be sure the parameters Enable XML Access and Multiple XML Access are enabled and Encrypt XML Password is disabled.
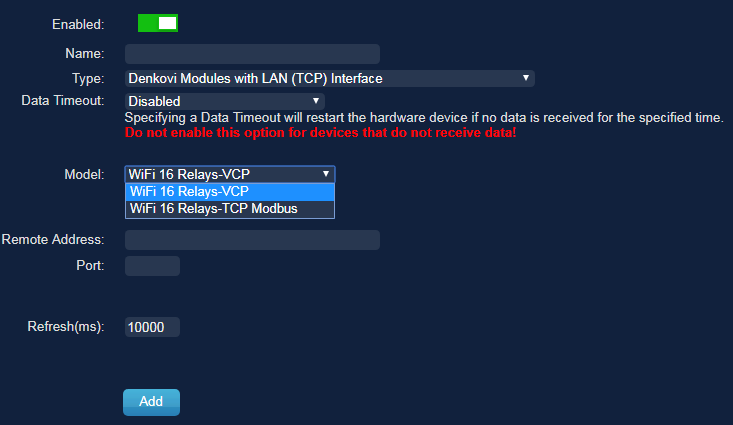
Some settings for this plugin:
- Model - the device model as per the above table
- Remote address - the IP address of the module
- Port - the HTTP port of the module
- Refresh(ms) - the polling period for the I/O
- Password - the HTTP (web) password
Hardware plugin Denkovi Modules with LAN (TCP) interface - supports devices using raw TCP communication
Devices, supported by this plugin:
|
Denkovi Device
|
Model | Note |
| Wi-Fi 16 Relay Module - Modbus TCP | WiFi 16 Relays-TCP Modbus | |
| Wi-Fi 16 Relay Module - Modbus TCP DIN RAIL BOX | WiFi 16 Relays-TCP Modbus | |
| WiFi 16 Relay Module | WiFi 16 Relays-VCP | |
| WiFi 16 Relay Module DIN RAIL BOX | WiFi 16 Relays-VCP |
Hardware plugin Denkovi Modules with USB Interface - supports devices using Virtual COM Port communication
Devices, supported by this plugin:
|
Denkovi Device
|
Model | Note |
| USB 16 Relay Module | USB 16 Relays-VCP | |
| USB 16 Relay Module DIN RAIL BOX | USB 16 Relays-VCP |
Some settings for this plugin:
- Model - the device model as per the above table
- Serial Port - the serial port of the module
One Wire devices connected via 1 Wire (System) - supports denkovi devices with 1-wire communication
Devices, supported by this plugin:
|
Denkovi Device
|
Model | Note |
| USB One Wire Converter | Requires OWFS installed and USB One Wire Converter | |
| One Wire Eight Relay Board-PCB, One Wire Eight Relay Board-BOX | Requires OWFS installed and USB One Wire Converter |
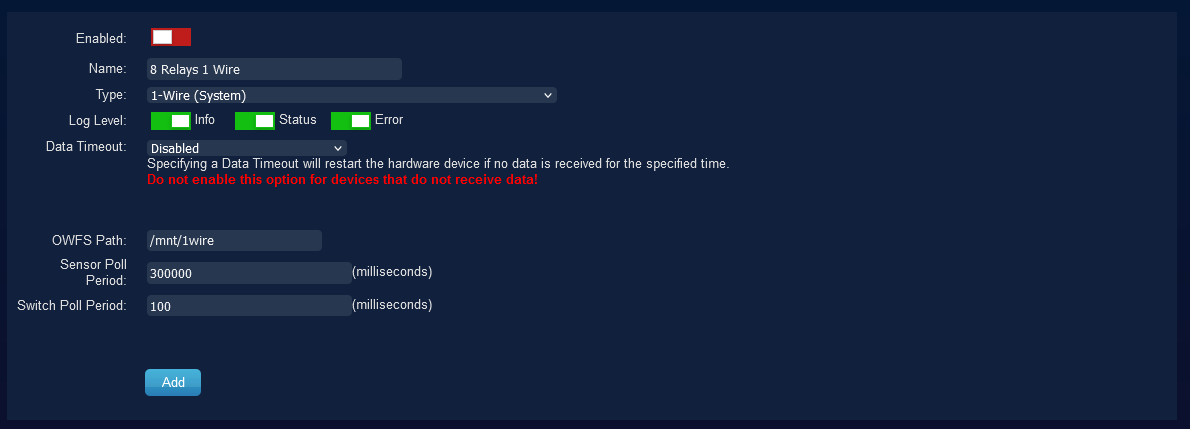
Some settings for this plugin:
- OWFS Path - the path to the 1 wire file system
- Sensor Poll Period - the polling period for sensors
- Switch Poll Period - the polling period for switches
List with supported denkovi hardware for the old hardware plugins (NO MORE SUPPORTED)
These are the devices according to the deprecated plugins Denkovi Smartden with LAN interface and Denkovi Smartden IP In with LAN interface. These plugins are not recommend to be used for new users. Please update Domoticz to the latest beta version. Also for current projects please migrate to the plugin Denkovi Modules with LAN (HTTP) interface.
|
Denkovi Device
|
Corresponding Domoticz hardware Type
|
| DAEnetIP4 - SNMP Ethernet controller with 34 digital/analog I/O | Denkovi Smartden IP In with LAN interface |
| DAEnetIP4 Ethernet Relay Card 5 Channel | Denkovi Smartden IP In with LAN interface |
| DAEnetIP4 Ethernet 12 Relay I/O Board | Denkovi Smartden IP In with LAN interface |
| smartDEN 16 Relay Module | Denkovi Smartden with LAN interface |
| smartDEN IP-32IN Module | Denkovi Smartden IP In with LAN interface |
| smartDEN Notifier | Denkovi Smartden IP In with LAN interface |
Adding new device
To add new device, go to "Setup" -> "Hardware".
Then enter the parameters and click "Add" button.
The new device will be shown.
Check the I/O of the device
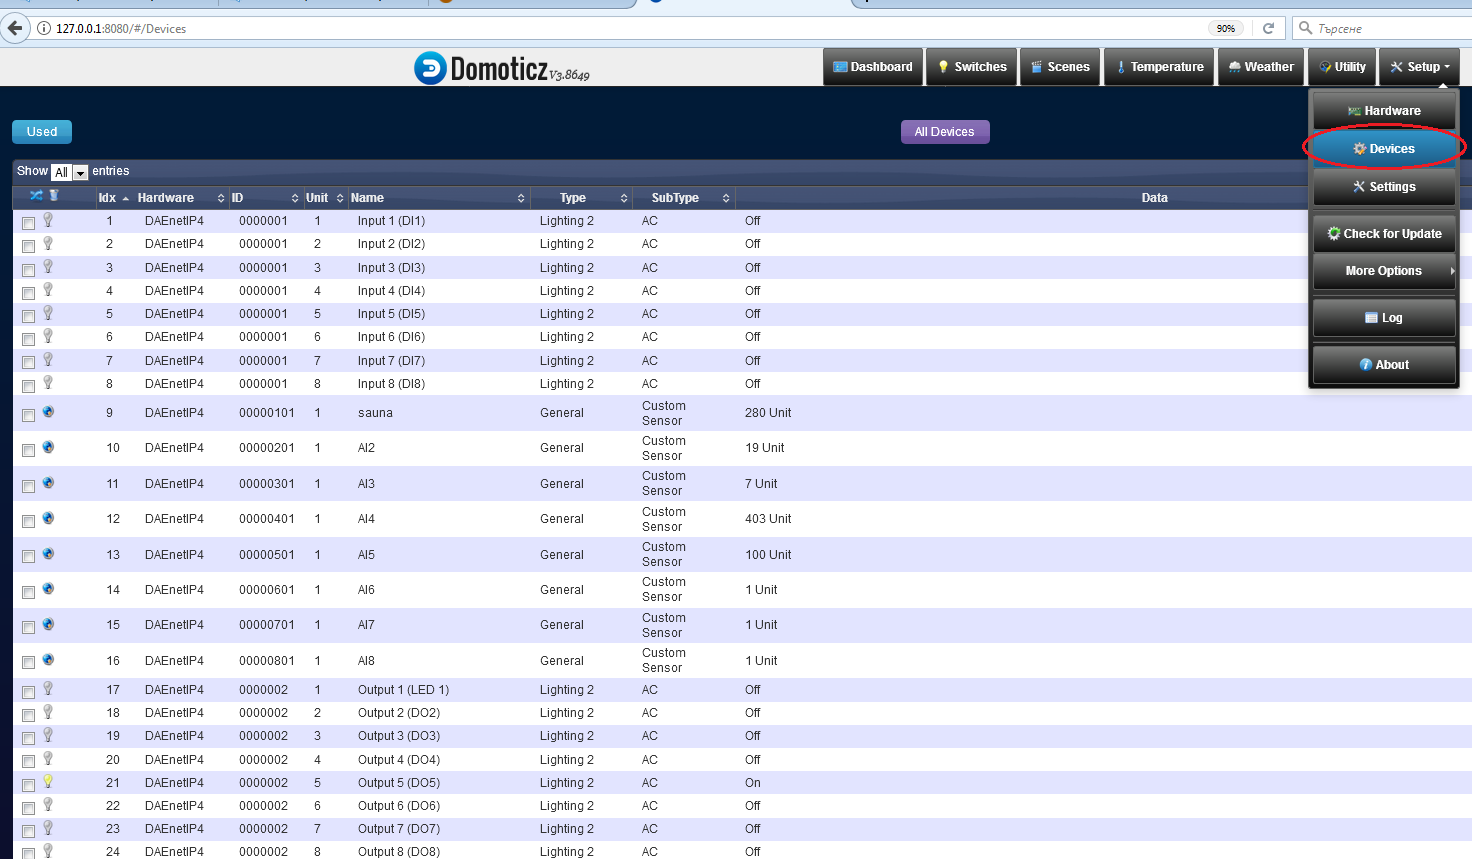
Now, go to "Setup" -> "Devices". You will see all the I/O of the device. You can control and monitor them from this page as well. In that way we are sure the device is added correctly and we can proceed with the automation.
Use the I/O
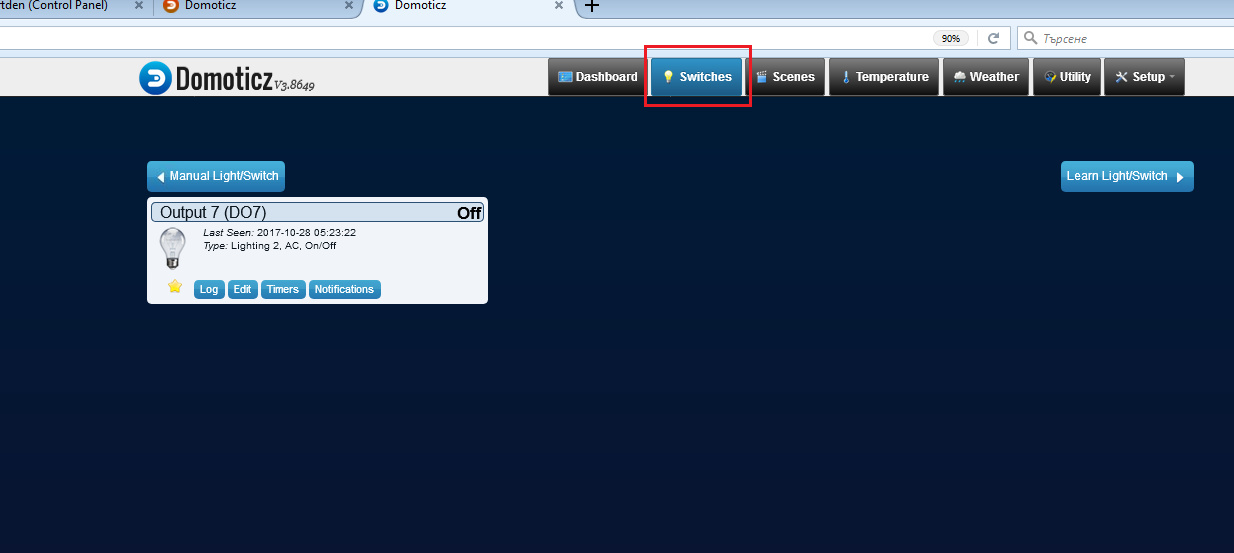
It is possible easily to use the I/O just using the green arrows as shown below.
For example, the digital outputs (relays) will be show on "Switches" tab.
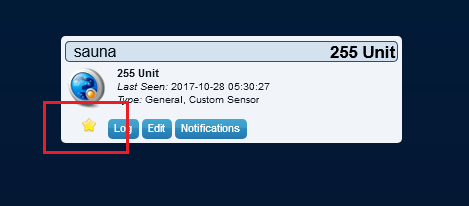
If you want to "send" some I/O to the dashboard, just use the "star" symbol below.
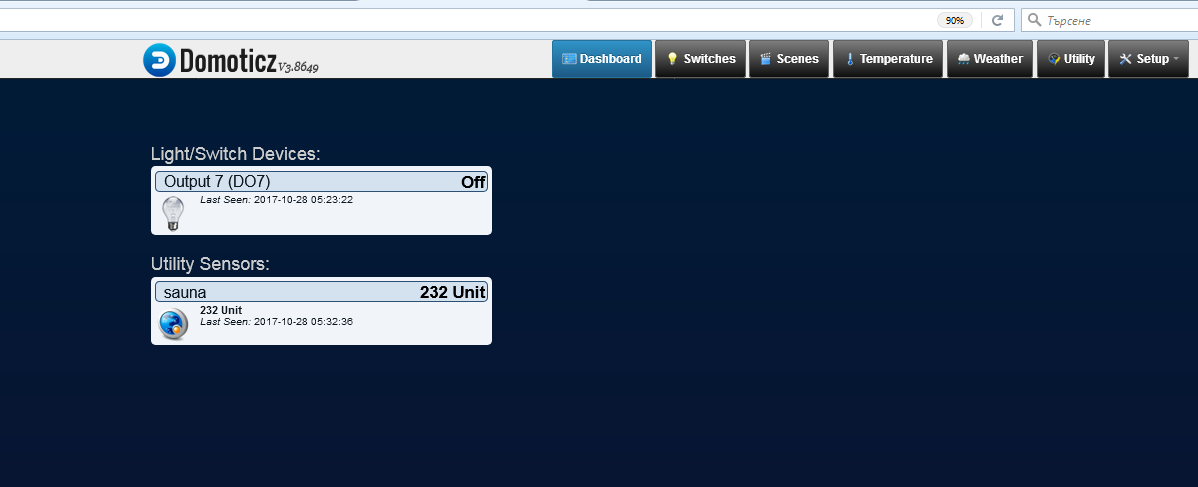
And the dashboard...
Working with PWM (Analog Outputs)
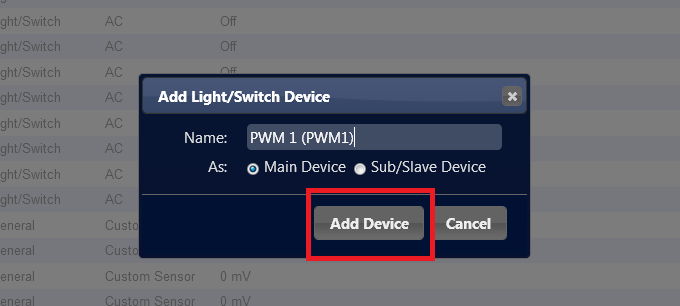
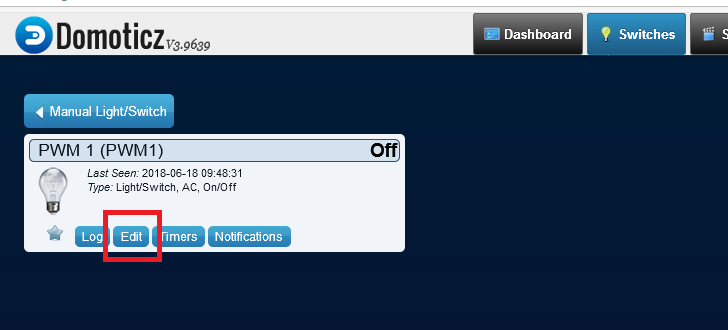
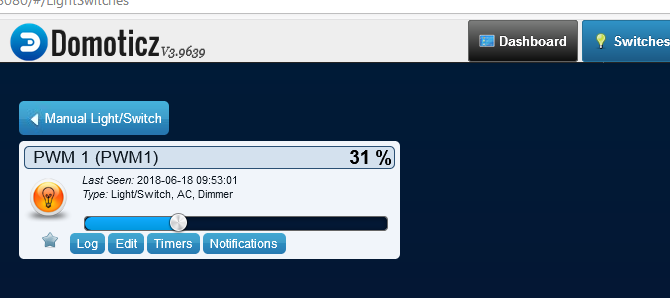
Some devices like smartDEN Maxi and DAEnetIP4 supports PWM/analog outputs for dimming projects. In order to control/monitor them, please check the below information.
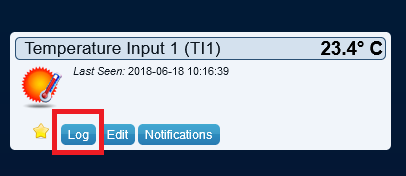
Monitor the graphics for the inputs
Some devices supports various inputs - analog, digital, temperature and they can be logged by the Domoticz system. However please note the Domoticz software must be running constantly in order to record the data.
.png)


