Cart is empty.
.png)
.png)


USB 8 Relay Manager is application for controlling USB Eight Channel Relay Board
|
|

- Who can use USB 8 Relay Manager
- List with currently supported relay boards
- Current version download
- User interface
- Manual Mode
- Timer Mode
Who can use USB 8 Relay Manager
USB 8 Relay Manager may be used by anyone who has at least one of Denkovi USB Eight Channel Relay Boards from the current version supported list.
List with currently supported USB Eight Channel Relay Boards
|
Order number
|
Relay board name and link
|
| DAE-CB/Ro8/12V-USB | USB Eight Channel Relay Board for Automation |
|
Version
|
Release date
|
Download links
|
| 1.4 | 07.04.2012 | |
| 1.3 | 01.2010 |
Revision history - here
DRM Installation guide for Windows
To get installed USB 8 Relay Manager on your PC the only thing you need to do is to download and run the installation file USB8RelayManager.exe. The whole installation takes several minutes. Here are the steps you should go through the installation:
1) Download USB8RelayManager.exe and run it.

2) Select the place you would like to be installed USB 8 Rleay Manager. It is recommend to install it on drive that is different from C:\
3) Setup will create icons on your start menu.
4) Install.
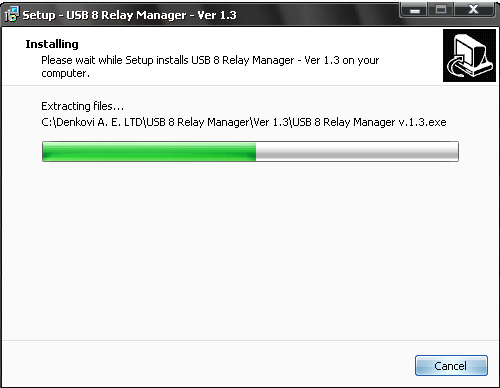
5) Installation progress.
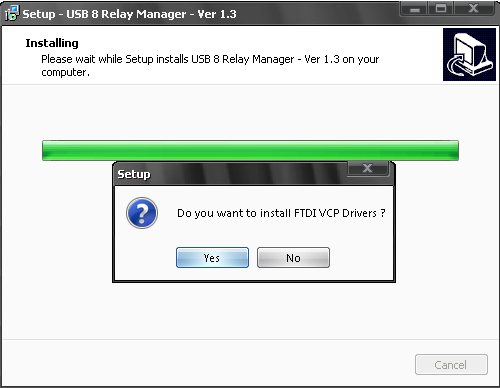
6) You will be asked if you have all the necessary drivers installed. If you hve already FTDI VCP drivers on your PC, skip this step. Otherwise click "Yes".
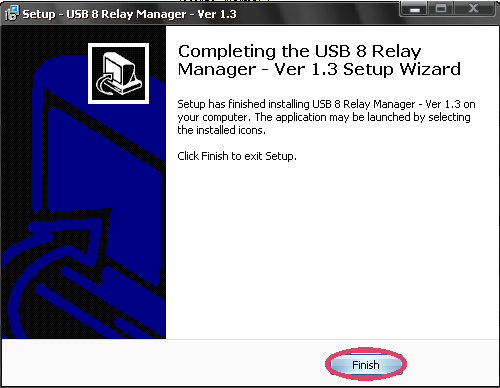
7) Finish the installation.
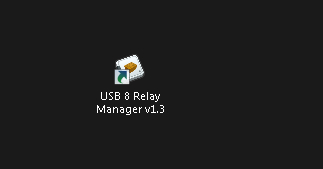
8) You may find the USB 8 Rleay Manager icon on your desktop
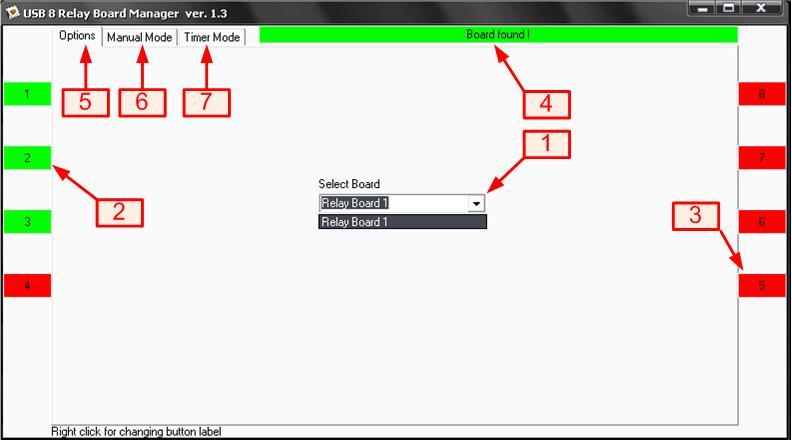
1) Relay Boards list. List with available relay boards.
2) Relay indicator (ON). It shows that relay 2 is ON.
3) Relay indicator (OFF). It shows that relay 5 is OFF.
4) Status indicator. It shows the status of the relay board - if it is opened or not.
5) Options tab
6) Manual Mode tab
7) Timer Mode tab

1) Relay button. It turns relay 1 OFF. Right click for setting the button name.
2) Relay button. It turns relay 8 ON. Right click for setting the button name.
3) Button ALL ON. It turns all the eight relays ON
4) Button ALL OFF. It turns all the eight relays OFF
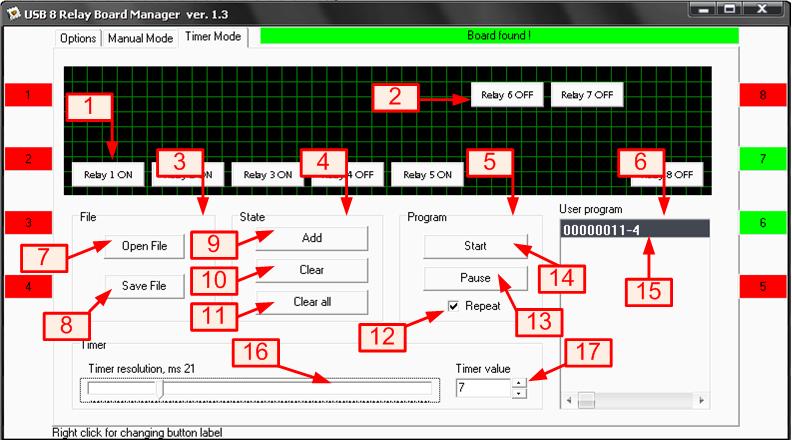
1) Timer relay button. When some timer relay button is in this position the given relay state is ON. If this button is clicked once the state will become OFF.
2) Timer relay button. When some timer relay button is in this position the given relay state is OFF. If this button is clicked once the state will become ON.
3) File groupbox. This groupbox contains file buttons
4) State groupbox. This groupbox contains buttons for handling relay states
5) Program groupbox. This groupbox contains buttons for user(timer) program manipulation
6) User Program. This is a list with all the states and delays for the relays. Generally this is so called user program sequence.
7) Open File button. Opens fie with saved user(timer) program.
8) Save File button. Saves the current user(timer) program into file.
9) Add button. Ads new state into user(timer) program
10) Clear button. Deletes all the states from user(timer) program.
11) Save File button. Saves the current timer program into file.
12) Repeat checkbox. If it is checked the user(timer) programwill run in loop.
13) Pause button. It pauses the user(timer) program.
14) Start/Stop button. It starts/stops the user(timer) program.
15) Selected state. The selected state from the user(timer) program.
16) Timer resolution. Range -1:100. This is the value for timer period (ms) For example if the current selected state is with Timer value 7 and Timer resolution is 10, then the total time for this state will be 7x10=70ms.
17) Timer value. The count of timer periods(ticks) that this state will be delayed.


